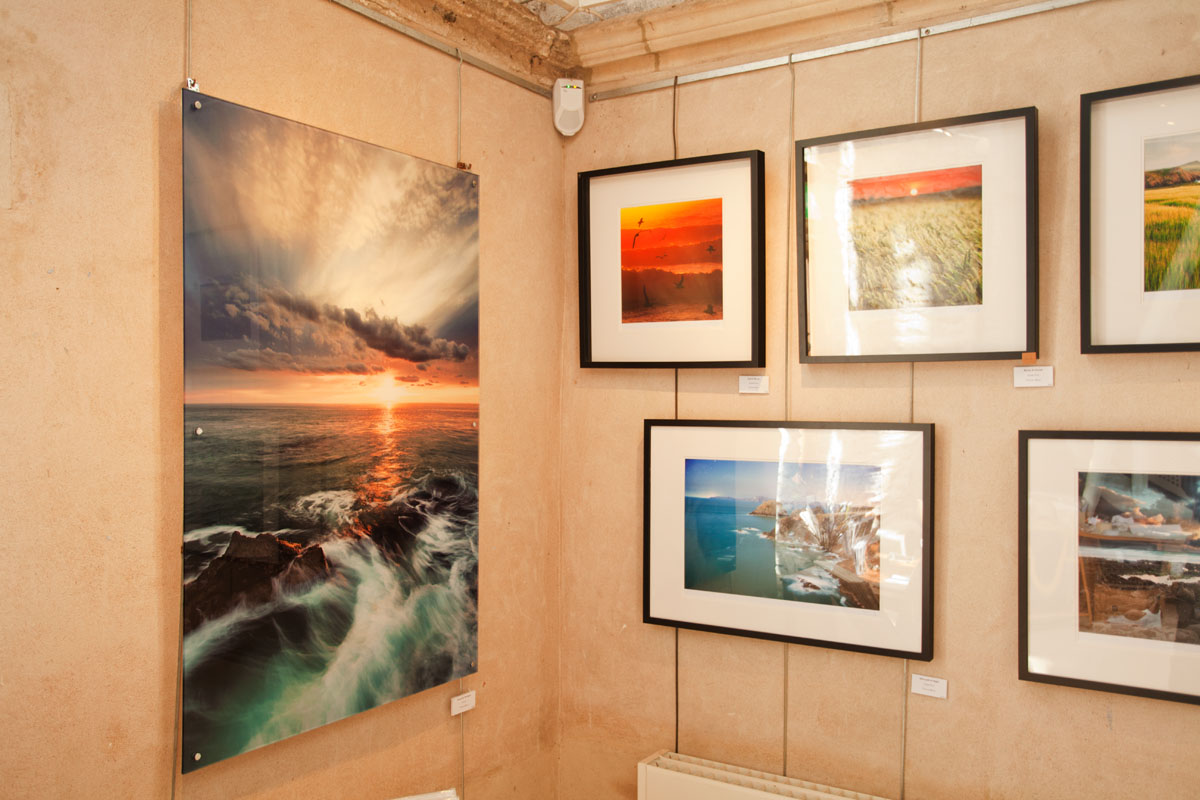
One of my images has been selected for the Take a View Landscape Photographer of the Year award in the Classic View class. Send good vibes to the judges to make the right decision! Results will be announced in the Autumn.
Long exposures and wet feet
We've been very lucky this Spring. At the moment I'm writing whilst rain falls outside but we've had some beautiful days recently. I've taken the opportunity when possible to get down to the sea and enjoy the sun and the water.
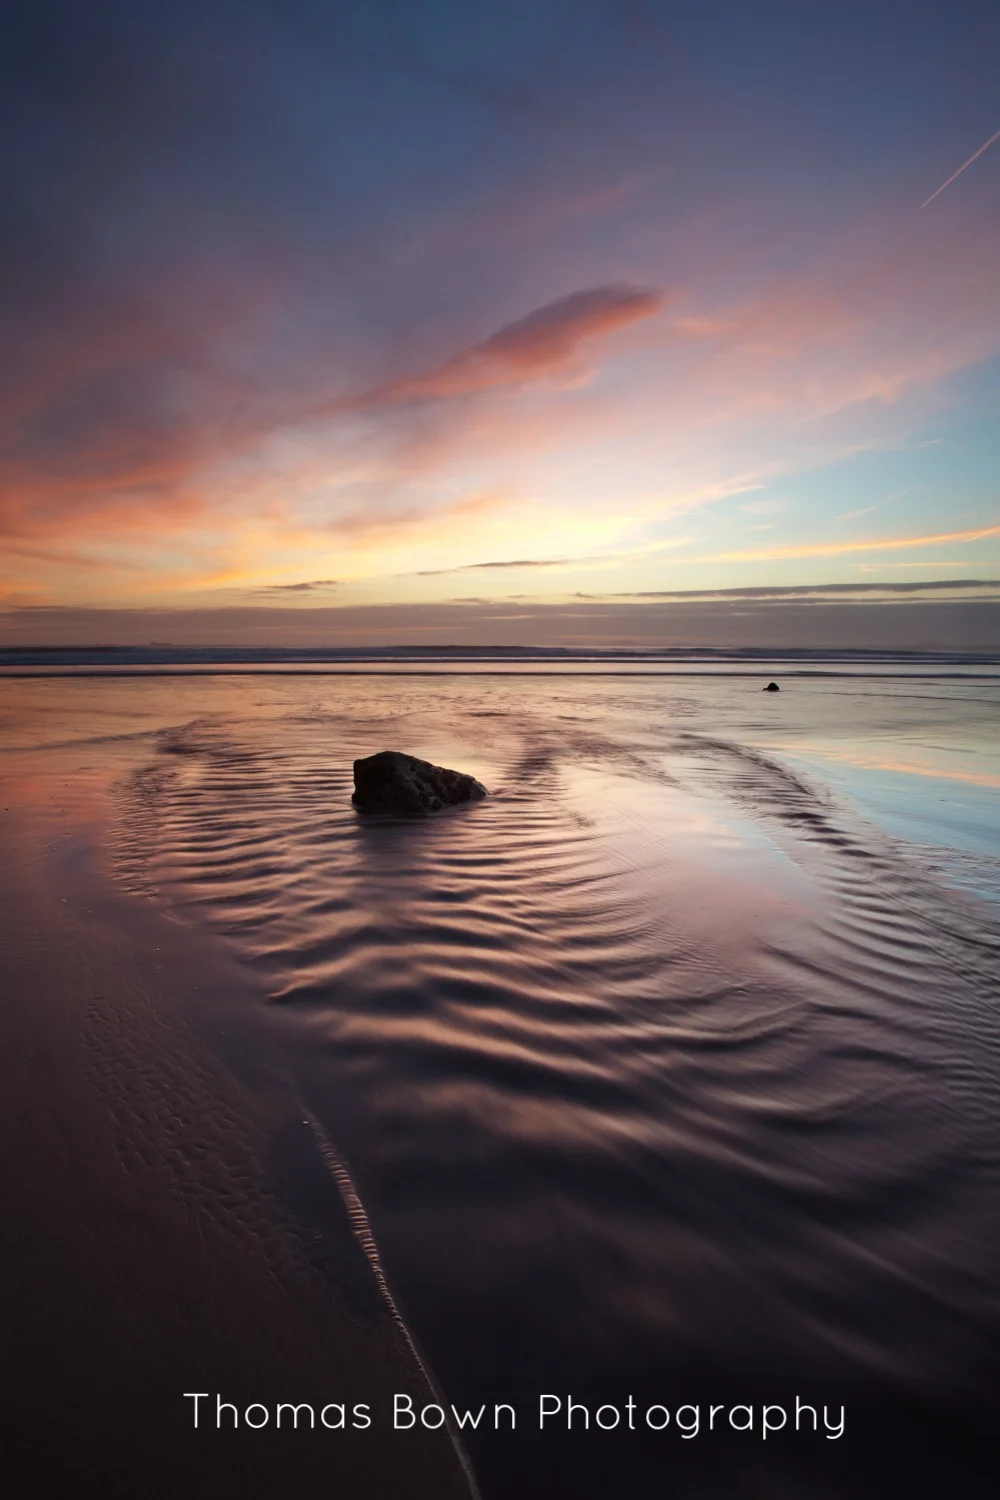
Sometimes it's nice just to go out, stand around in ankle deep water and take some really simple shots of the water doing it's thing. I've enjoyed a few hours spent this way in the last few weeks. To get this smooth effect with the water requires a bit of technique. Some of these were taken in bright sunshine where usually the shutter speed would be very fast. A neutral density filter helps cut the amount of light getting into the camera allowing longer shutter speeds without overexposing the shot. Slowing down the shutter speed smooths out the textures as the water washes in and out but leaves patterns behind. Each exposure is about 6 seconds long (longer on some of the shots taken later in the day) and each exposure can create it's own interesting effect. When I go out to take this type of shot, I often spend many minutes taking essentially the same shot but enjoying all the different effects each new wave can bring. As usual, I come back with a whole load of shots from this type of day so this little selection are the best from maybe 50 shots.
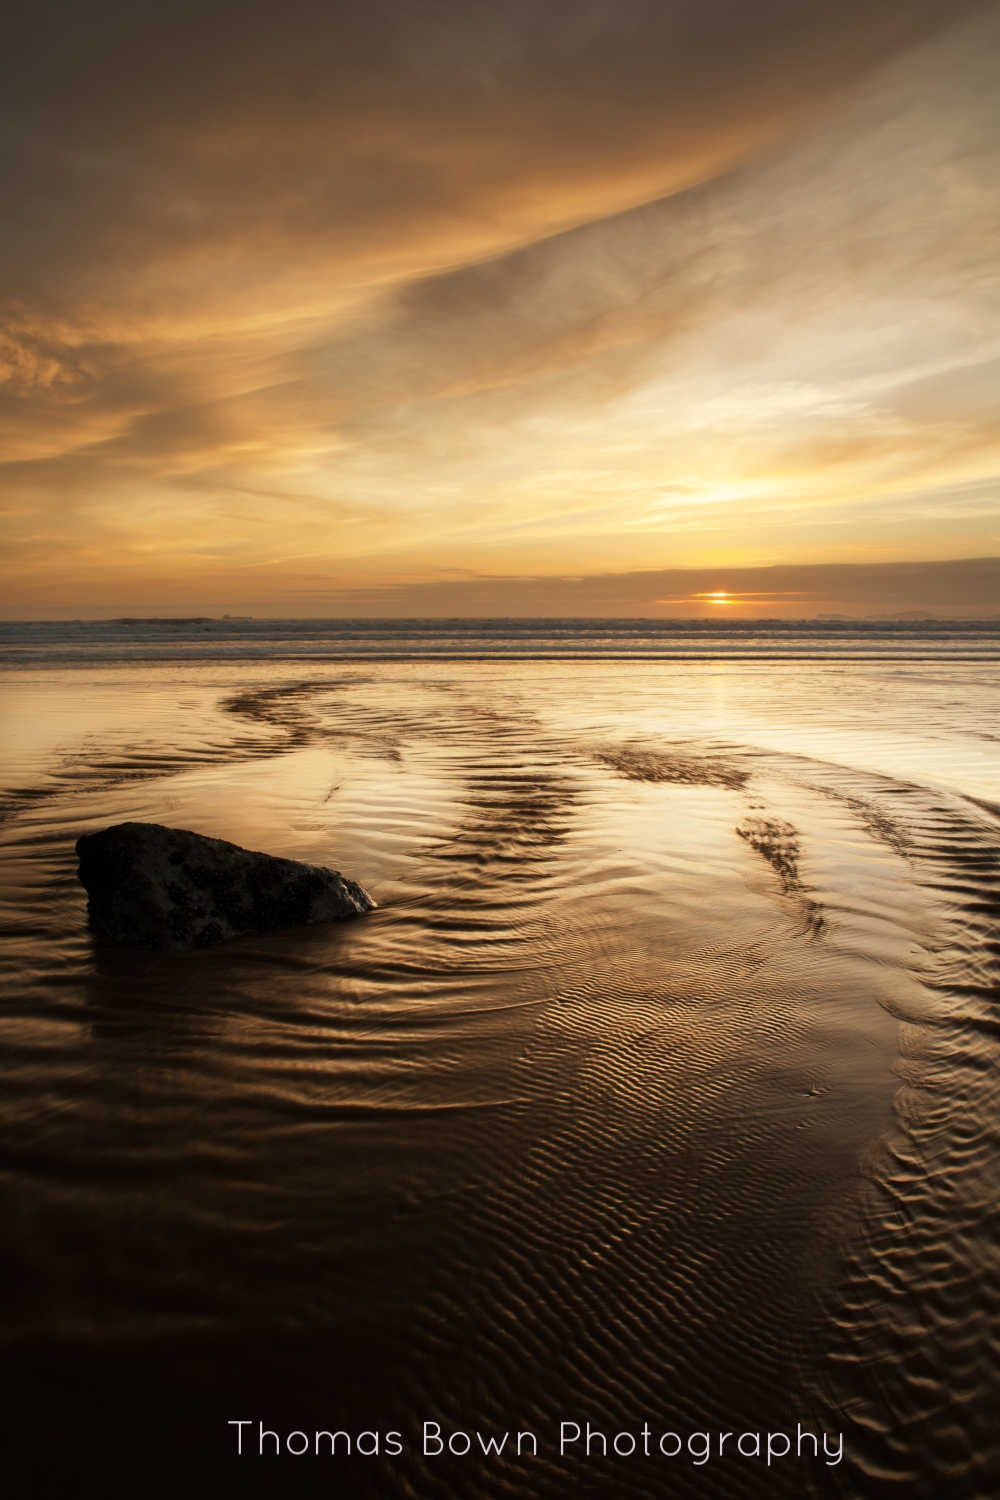
The first shot is taken from the beach at Newgale. If you look closely you can see a tanker on the horizon. St Brides Bay often becomes home to a few ships moored up waiting for their slot in the harbour at Milford Haven and they can be there for a few days or sometimes much more. I'm more of a landlubber myself so find it strange the life of the folk on those big boats. I find it odd to think of being out in all that space surrounded by water for weeks at a time but the captain of a tall ship once told me that was the appeal for him. I guess we all go and find that space somewhere although I suppose the motivation is more monetary for the folk aboard that tanker.
These were taken at Newgale, Marloes and Penycwm.
Spring sunshine in Bath
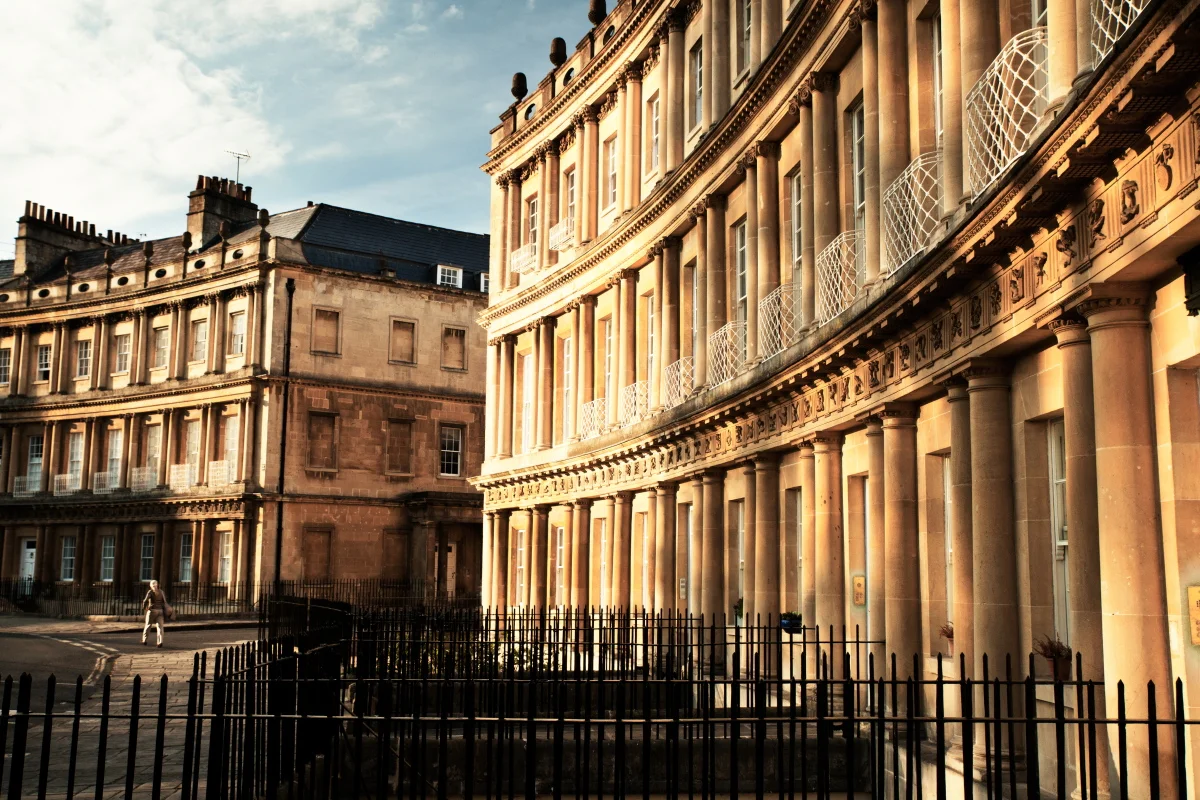
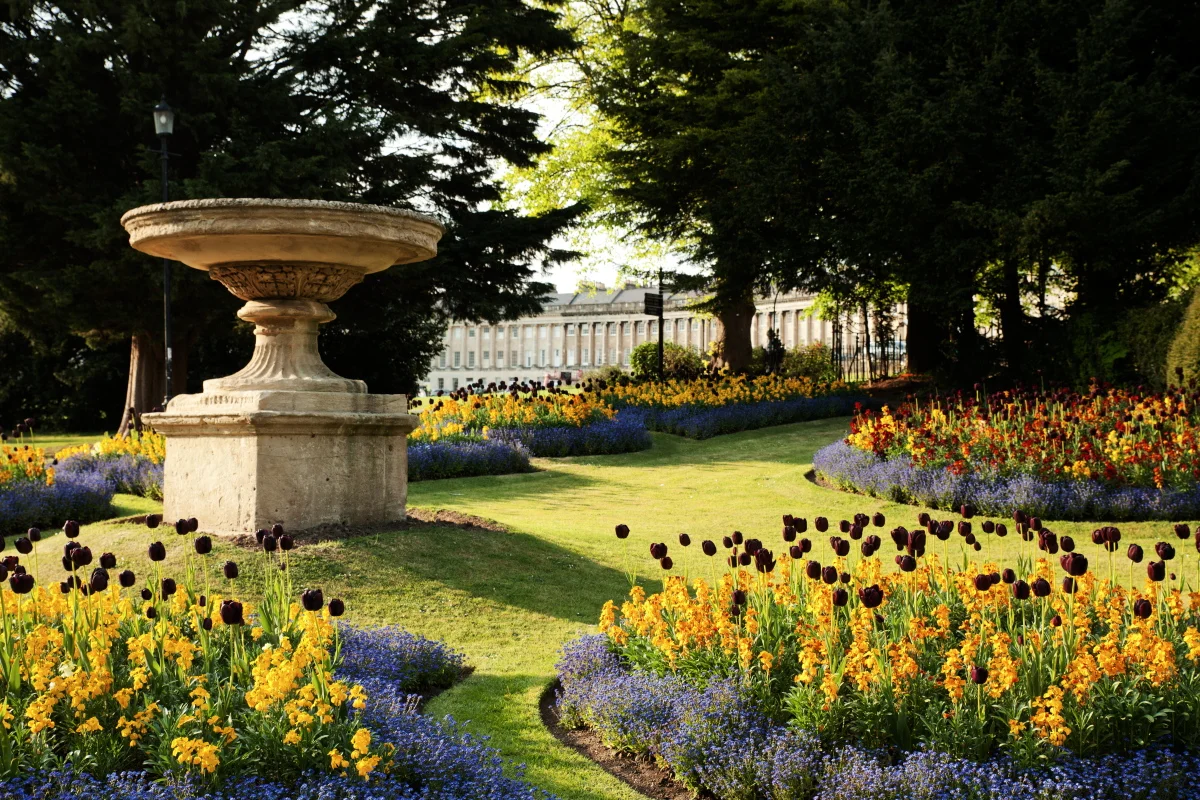
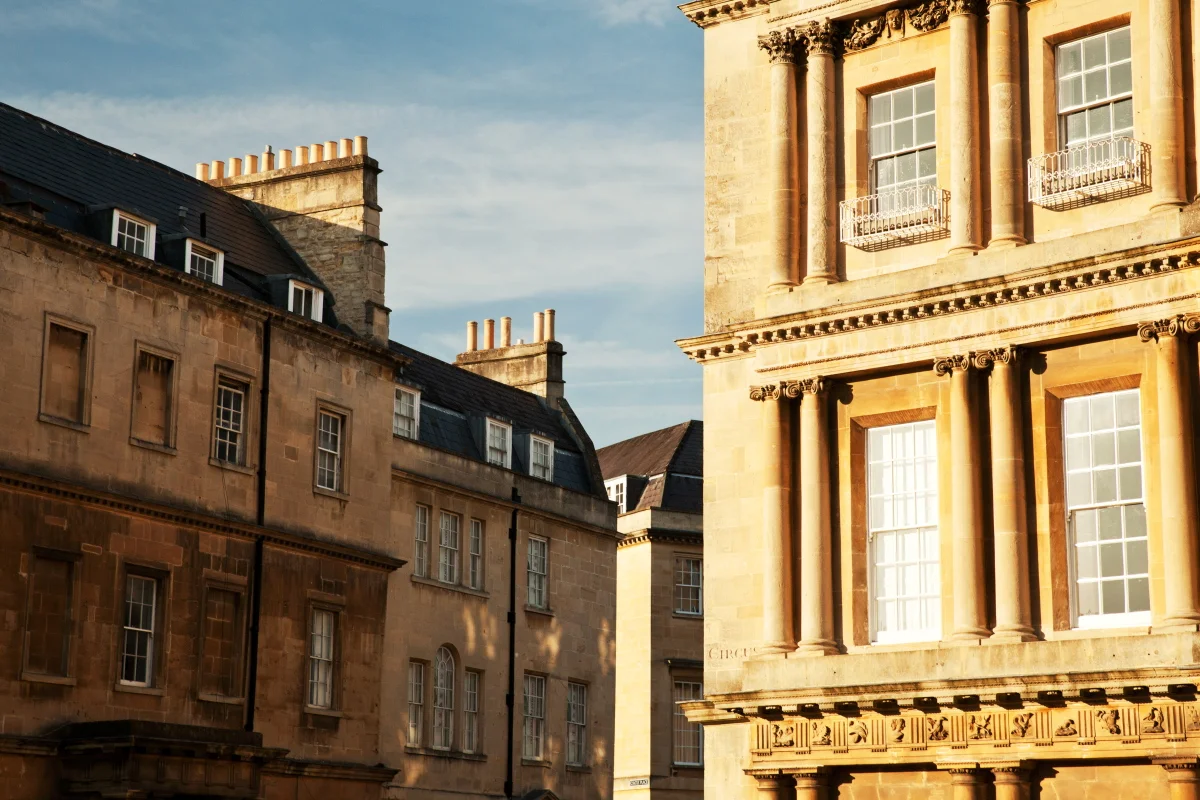
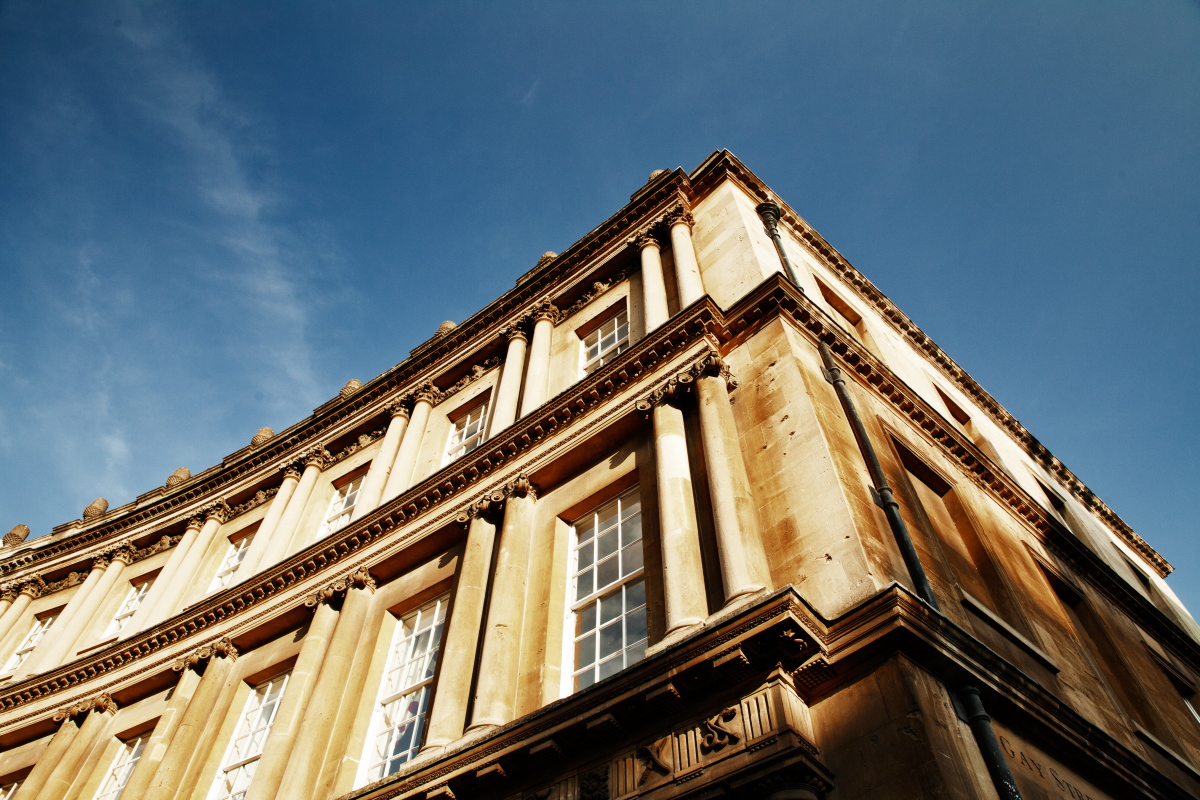
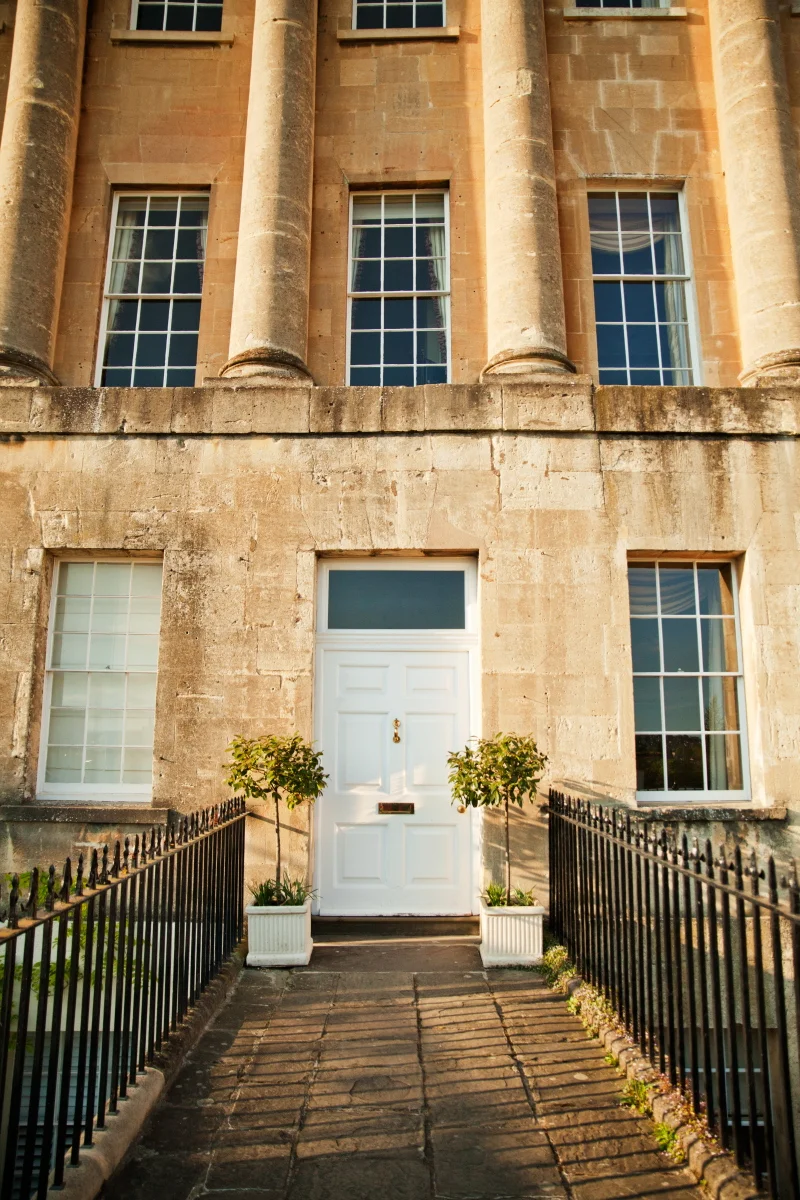
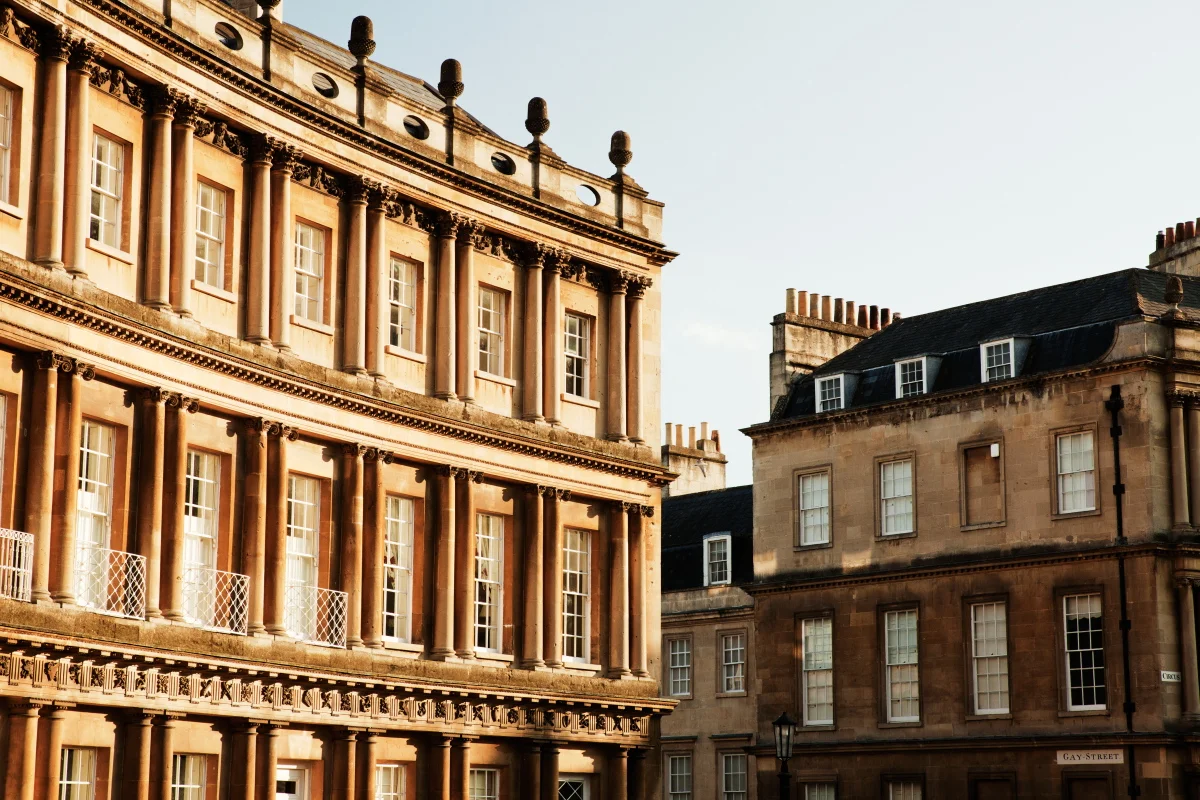
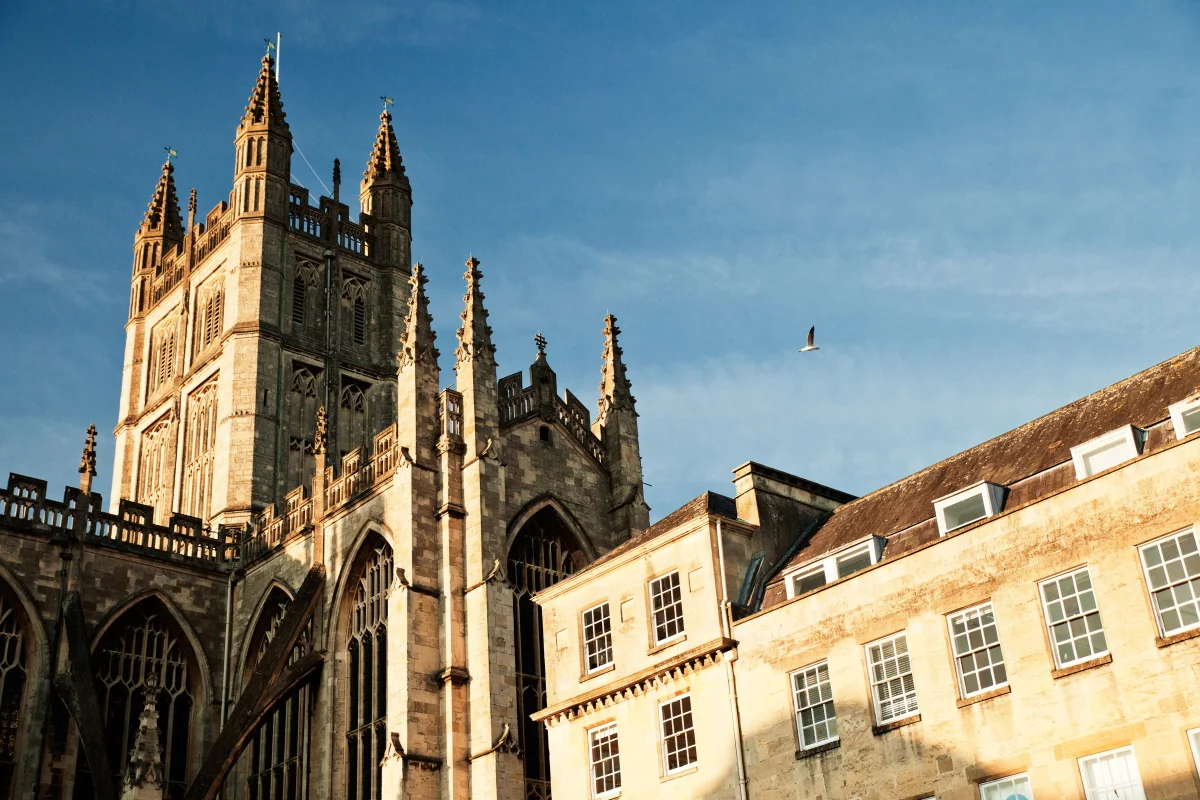
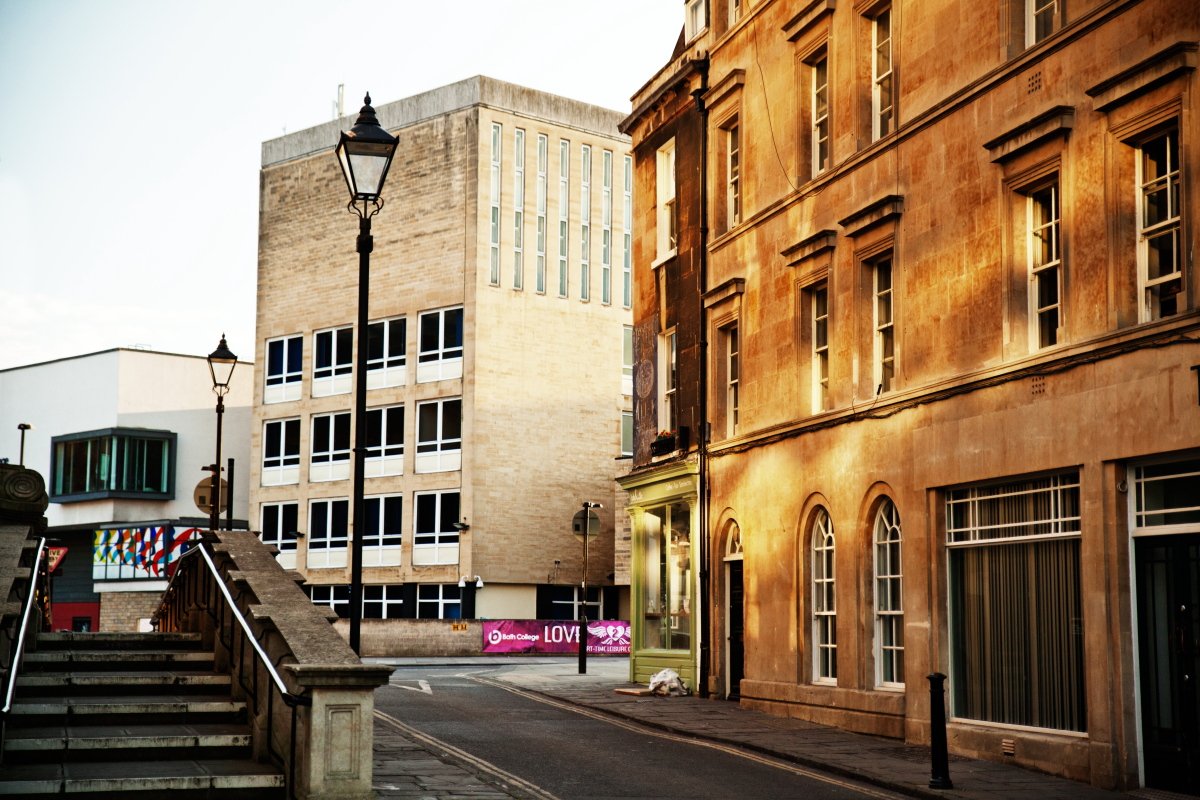
I grew up near to Bath but have rarely taken pictures there. I guess that's what happens when you feel so familiar with a place; you get used to the beauty of it and stop noticing. Last weekend I had an hour on my hands and with beautiful evening light I took the chance to have a wander around and take some pictures. I forget where I read the description of the local Bath stone 'glowing butterscotch in the evening sun' but the phrase always pops into my head when the light is like this.
Changing light at Druidston Bay
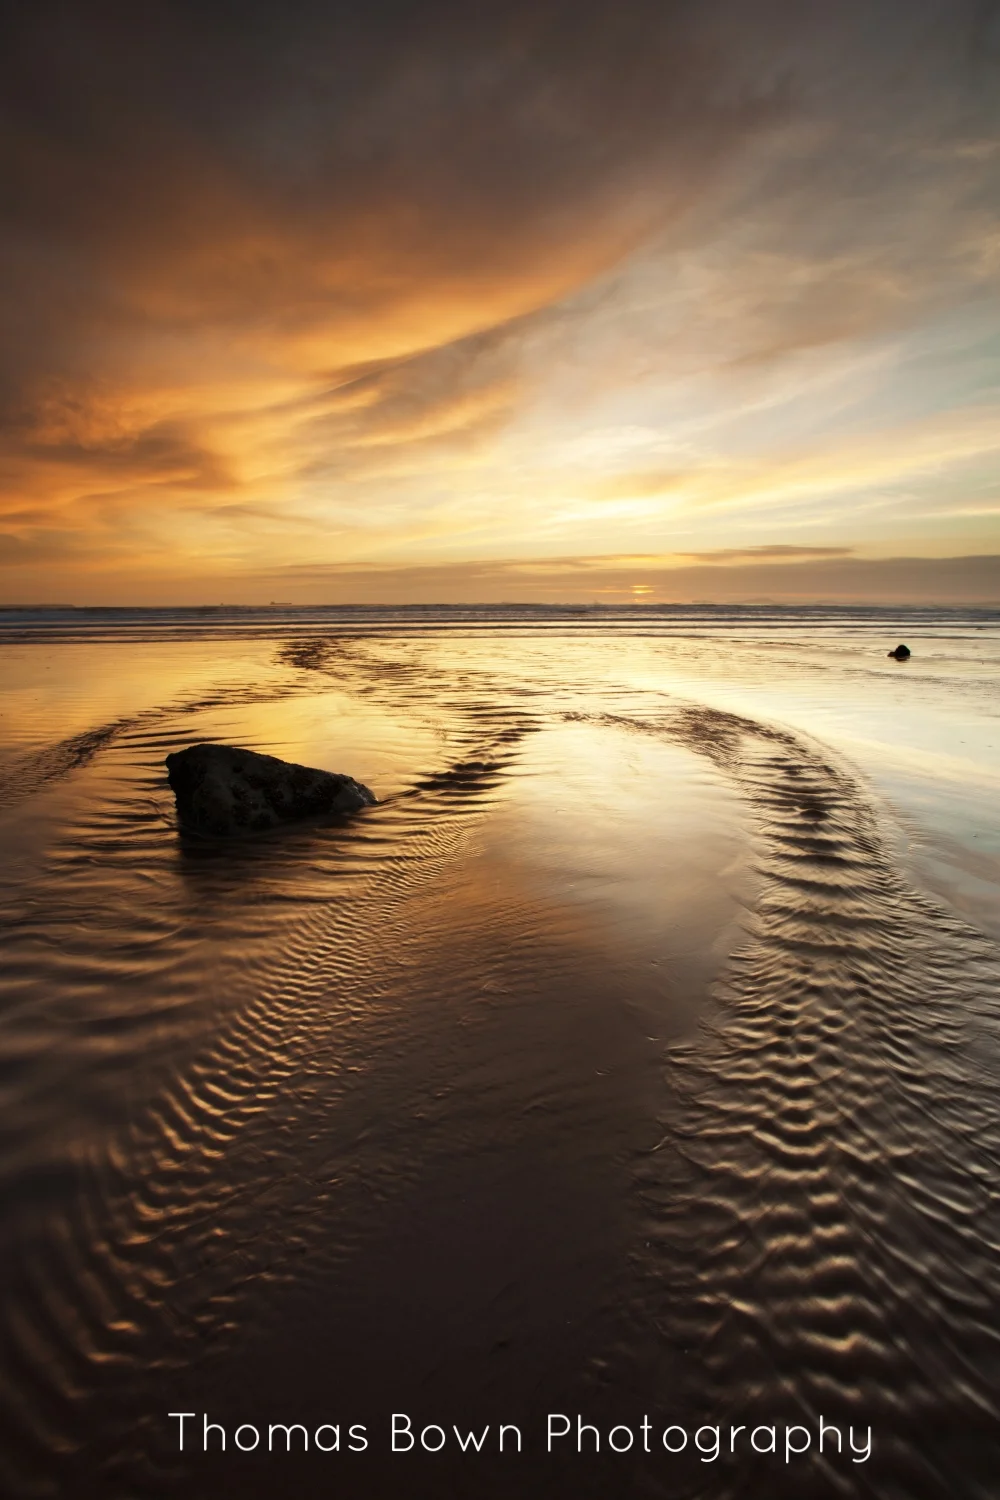
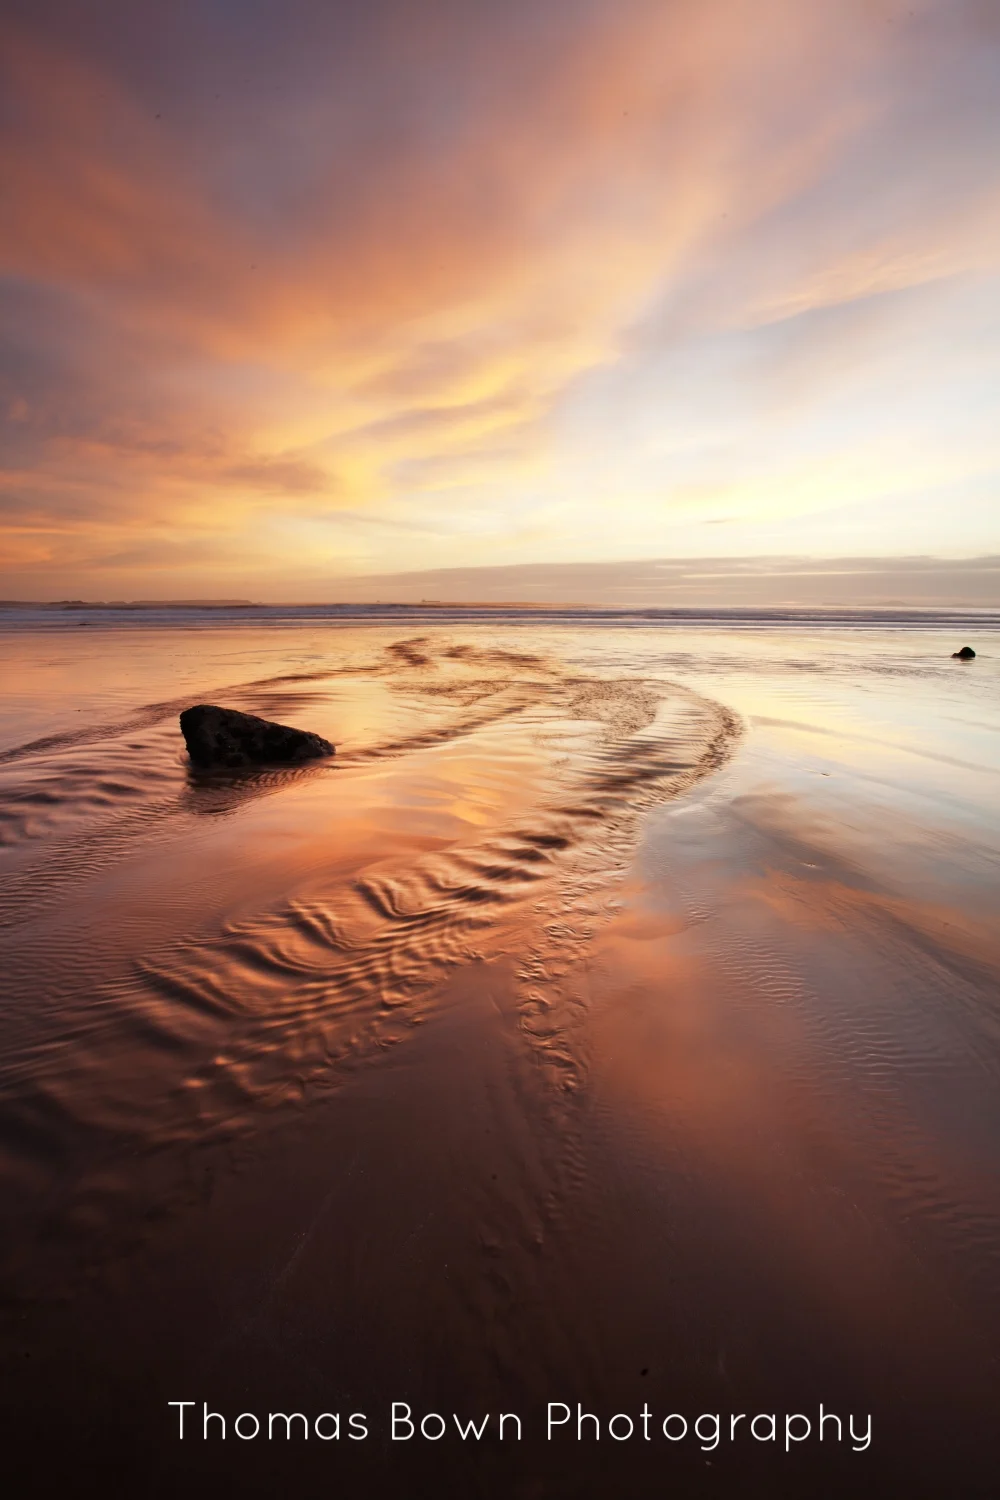
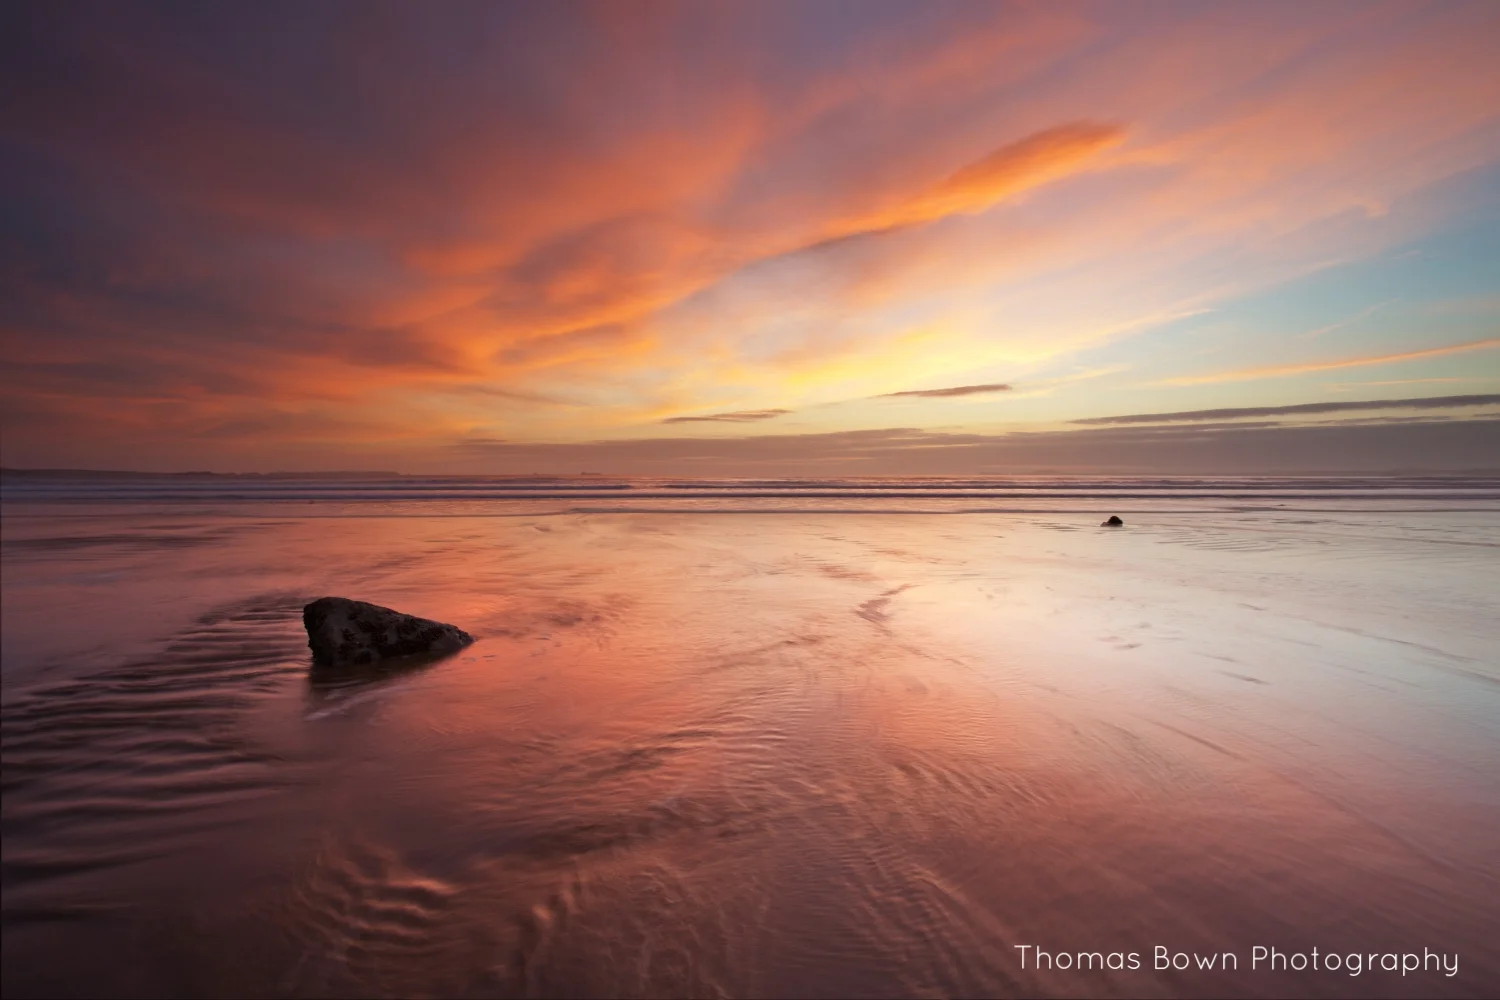
These are pretty much the same shot down at Druidston Bay the other night but I thought it was interesting to show how the light changed over the course of 20 minutes between the first and last shot here. With the sun still above the horizon, shades of gold light up the clouds and give the wet sand a metallic sheen. As the sun dropped below the horizon then the gold is replaced by softer shades of pink and blue before twilight means blue takes over completely. It's then a walk back up to the car as dusk precedes night.
It's always worth hanging around after the sun has left the sky. Quite often a skyscape is made up of different types of cloud that hang out at varying altitudes. As the light changes angles, the dropping sun can still illuminate the underside of the highest clouds even when it has dipped below the horizon. On the best days it can be kaleidoscopic as different layers are revealed and new parts of the clouds are illuminated as they scud and fragment across the sky.
Which one is your favourite? I like the pastel tones that remain after the sun has gone.
Exhibition - Ongoing
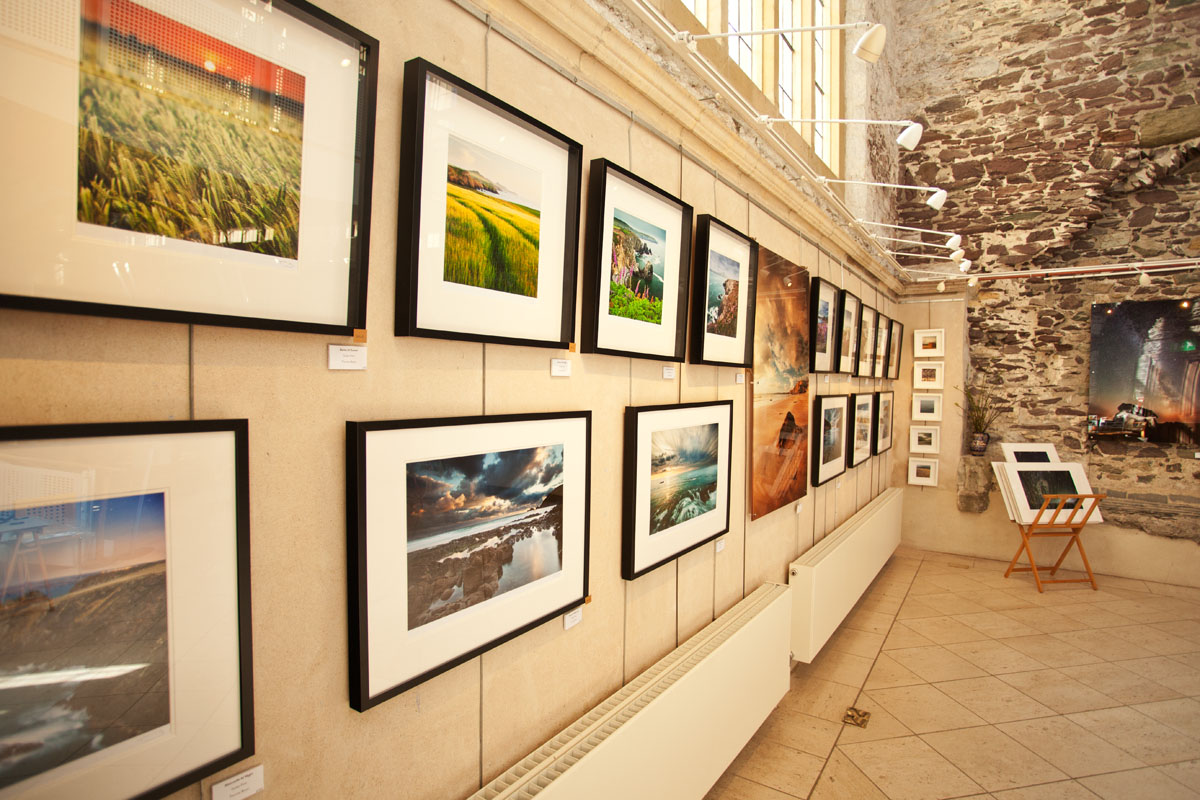
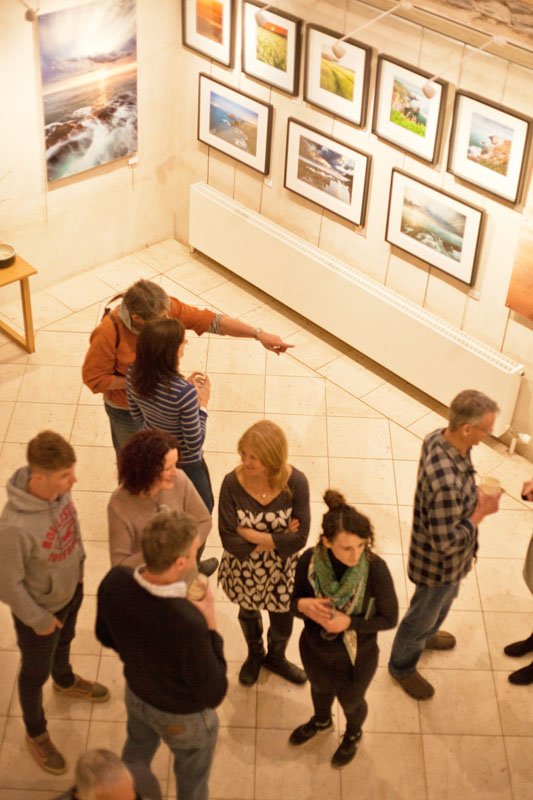
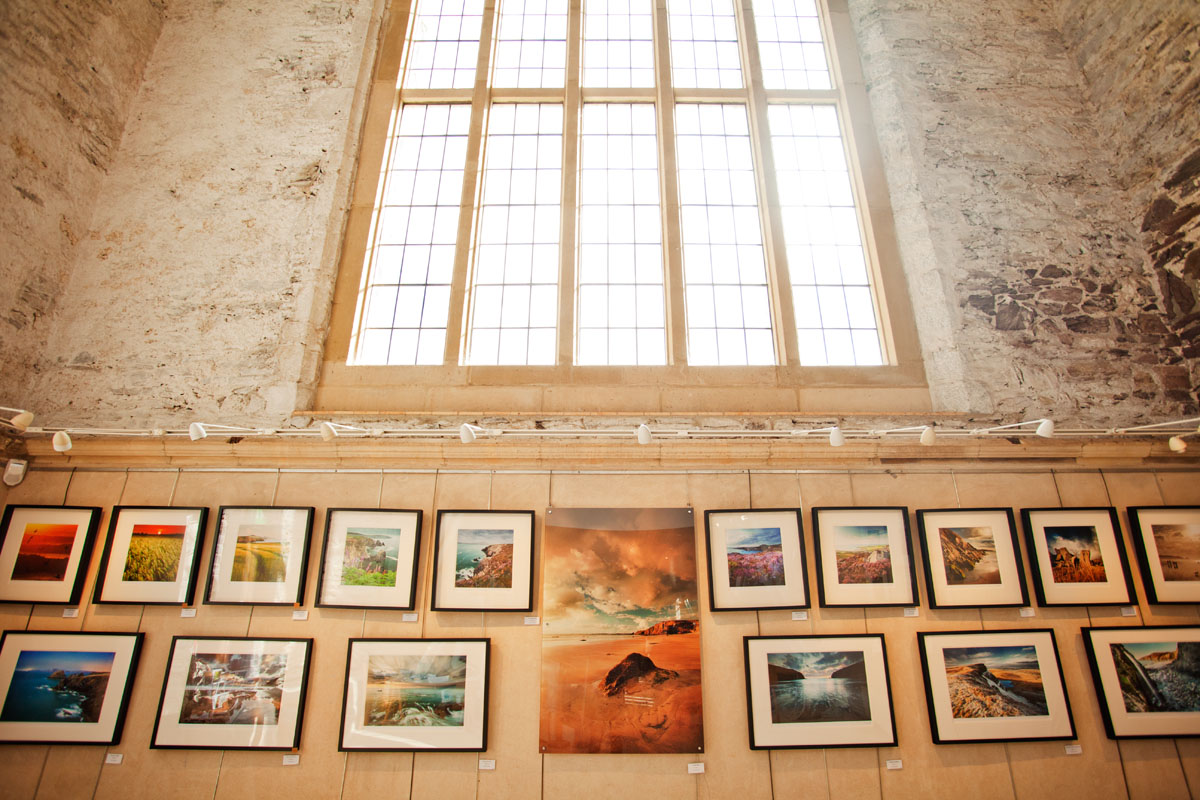
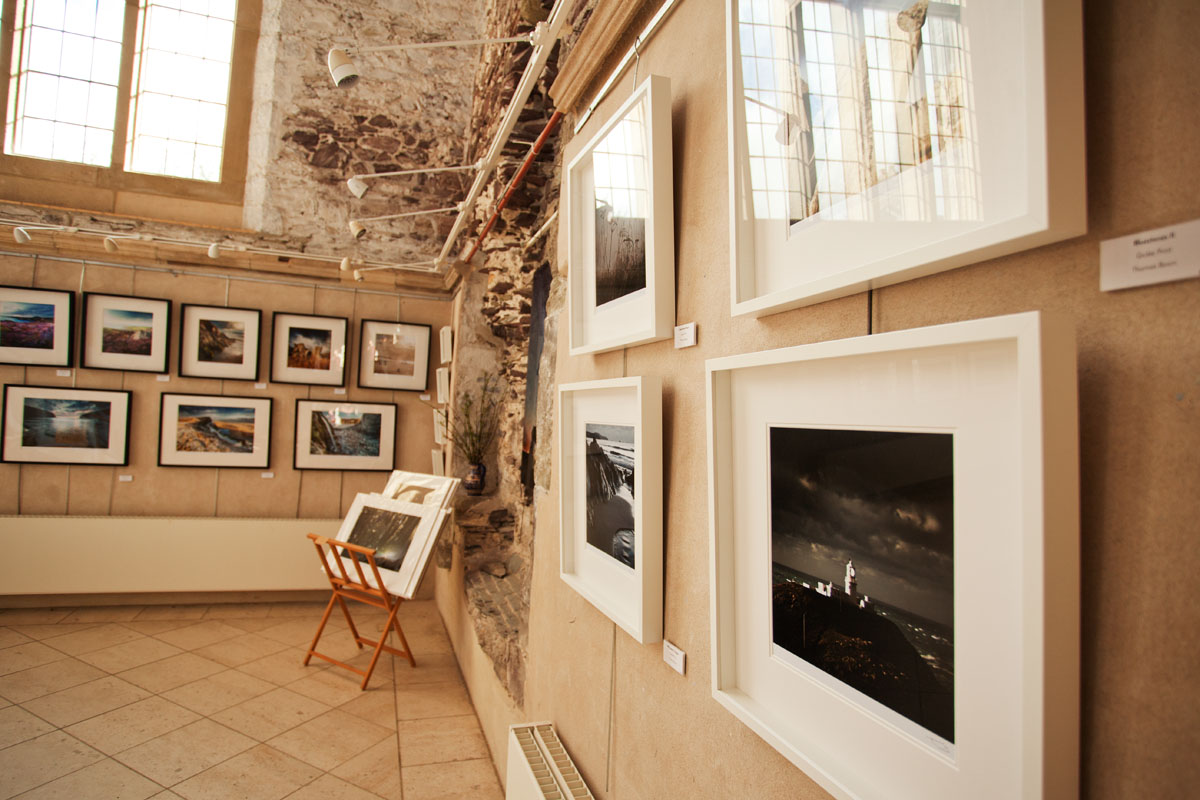
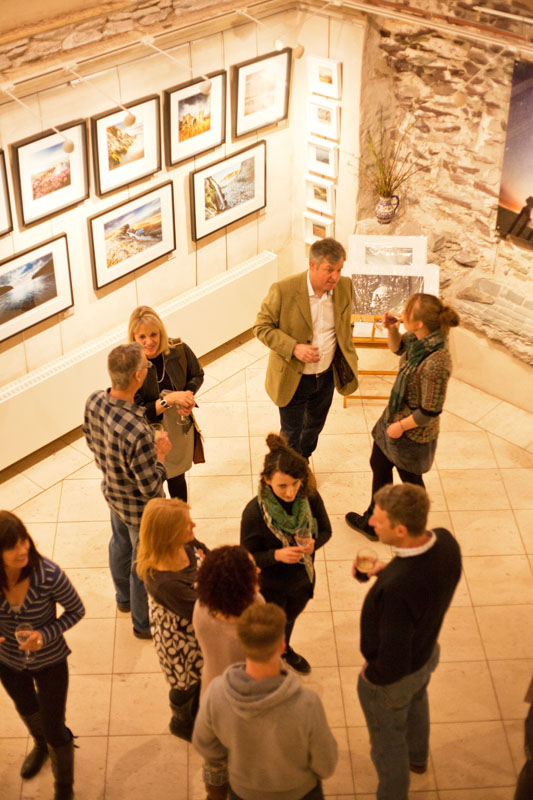
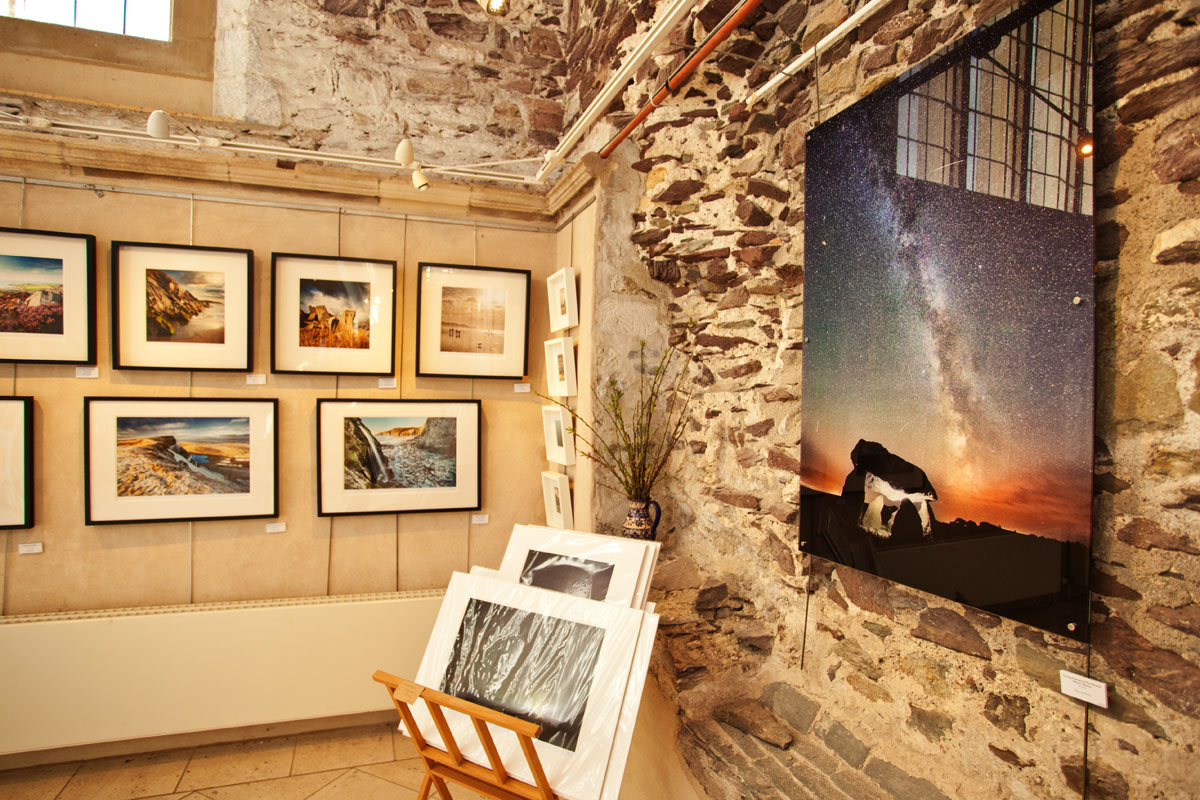
I'm still here at the Cloisters Gallery in St Davids Cathedral until the 10th April. It's been great to have an opportunity to display some of my work and the space here in the Cathedral is a lovely area to use. Plenty of wall space and bright surroundings help everything to look its best. Do say hello if you are in the area and would like to see some of my work in the flesh. The gallery is next to the Refectory cafe and is open from 11 - 4, 7 days a week.
Anatomy of a photo - Night time at the coast
Pembrokeshire is a great place for night and astro photography because of the relatively low levels of light pollution. A number of sights have been designated as Dark Sky Discovery Sites but many other places are dark enough for good photos too. People sometimes ask how I go about creating images at night assuming that some kind of specialist equipment is required. Although I don't consider myself an expert and make plenty of mistakes myself, here are some notes on producing the image below including equipment choices as well as logistical challenges.
This picture was taken in March last year. I noticed that it was a clear night but checked the infrared satellite imagery online to make sure it would stay clear. I also checked where the moon would be on the Lunafaqt phone app. It looked good and I saw it was pretty much a half moon which would be high enough in the sky to shine light down on the scene avoiding any shadows from the cliffs. The half moon meant that there would be plenty of light but not so much that the stars would be invisible. In full moon light you aren't able to see many stars and the scene can look like slightly weird daylight.
For long exposure (slow shutter speed) shots you need the wind to be fairly light. This night was roughly 10mph ENE wind and cold at around 4 degrees C. As anyone in Pembrokeshire knows... the wind is rarely light so I was in luck. For night photos of the sea you want some swell so you get all those nice white bits around the rocks and the state of tide will also have a bearing on how much rock is exposed to the waves. Occasionally it's possible to see the Northern Lights in Pembrokeshire. Due to our dark skies we have a good chance of seeing something if it is there so it's always a good idea to check the Aurora forecast. If there's a chance then you definitely want to be looking at a composition that faces North. So there's quite a few elements you need to align before you bother making the trip out. No cloud, light wind, right moon phase, some swell. So the usual requirement to be in the right place at the right time is true but design and some good fortune are needed to make sure you're in the position to succeed. Often you'll get to a spot and realise it isn't going to work for one reason or another, or you might shoot for a couple of hours and get home to find you haven't got a decent shot; but as with a lot of photography, by learning to to visualise what you want before you go blindly into the night and getting familiar with the technical challenges, you can improve your chances.
For decent night photos you need a good DSLR that won't produce too much 'noise' (grain) at high ISO levels when taking long exposure shots. You also need a lens that allows as much light in as possible because it's dark! F2.8 or faster is good. I shot this on my Canon 5Dii with a Tamron 24-70 2.8 lens. You also need a decent tripod because the shutter is going to be open for at least 20 seconds and you don't want any movement whilst the shutter is open. Hanging your rucksack off the tripod is a good way to stabilise it. You may also want a shutter release cable so that touching the camera doesn't cause any camera shake. You're also going to be standing around in the cold for at least an hour so best wrap up warm and maybe consider a flask of tea or port!
First off I drove 4 miles before I realised I had brought the wrong lens (a lesson learnt), so I went home, got the right lens and drove the 6 miles to Abercastle. To get into position is roughly a 20 minute walk along the coast path to the spot I had considered in the daylight a few days before. Being careful not to fall off the cliff in the dark I set about taking a picture. The first problem is trying to focus a camera in the dark. In this instance the best way was to do it manually using Live View and the moonlight to get as close to sharp as possible. Other techniques can work well such as placing a torch in the scene where you wish to focus as it gives you a bright spot to focus on. You can also focus on the moon or stars depending on what you need to be in focus.
To get a decent exposure you need to keep the shutter open for around 20-30 seconds. If you leave the shutter open too long you risk picking up the movement of the stars so instead of points of lights you get streaks of light (an effect you sometimes want to exploit for 'star trail' pictures). So you take a few pictures until you get the focus dead on which means standing around for 20 seconds, checking the picture, making any adjustments and repeating until you get it sharp. A bit of trial and error is needed.
As each exposure takes a good amount of time to create, it's important to make sure the composition is as you want. When you're happy you can start watching out for elements that might make a better image. For this one I waited until a big set of waves came into the bay. The whitewater produces nice borders around the rocks so it's worth trying to time it right but often you can just stand around pressing the button every 20 seconds and watching the nocturnal world go by. Keep an eye out for shooting stars, the ISS or UFO's to make the picture a bit more exciting. On the coast in North Pembrokeshire you can enjoy the rhythmic sweep of the Strumble Head lighthouse (visible on the left of the picture), consider the tankers in the bay, listen to the gulls and other sounds of the night or listen to some Leonard Cohen on your ipod whilst jumping around to keep warm.
So on to the results... On this night I took my first picture at 21:14 and took my last shot at 22:55. An hour and 40 minutes from first to last shot. I walked back to the car, got home, downloaded the pictures and had a look through what I'd got. I'd taken 57 pictures in total and realised that on this occasion I'd been ever so slightly out of focus on many of the shots, I singled out several that were A: In focus B: Nice. I then spent about half an hour processing the image using photoshop. First, eliminating some dust spots on the lens. Second, the colour balance. Moonlight has a colour temperature of around 4000k. Sunlight is around 5800k and colours will appear differently depending on your settings but you can experiment to get the best level in post processing. Needless to say I am shooting in RAW to allow these changes to be made. On Photoshop I generally use curves to add contrast and depending on the image I'll use several layers and masks to make changes to particular areas. For example, the whitewater around the rocks will require different processing than the sky or the cliffs.
And so, after leaving the house at 20:05, I returned at around 23:00. After processing I had one image I was happy with! One image in 4.5 hours! So here it is... I hope you think it was worth it.


